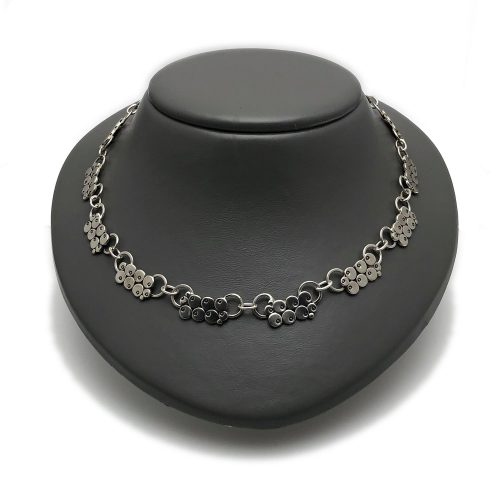
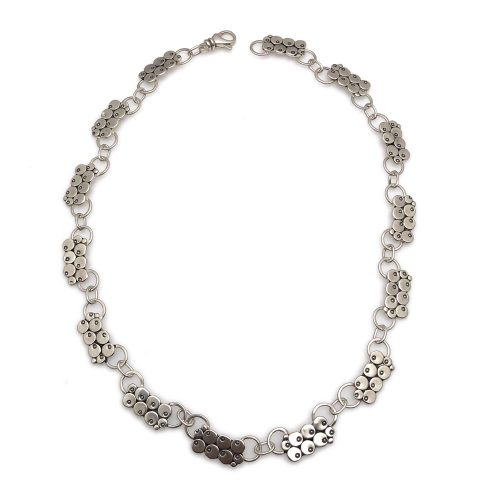
I made a sterling silver necklace just for me. Recently I’ve been feeling the need for some ME time. Normally, when I feel that way my go-to solution is a massage but this week I decided to so something fully indulgent, and decadent. Probably the most indulgent thing an artist can do for themself is to create without the thought in the back of their mind of who will buy it? Will someone buy it? How soon can I sell it?
Usually, the only time I really wear my jewelry is if there is some flaw and I don’t see it as fit to put out into the world to a paying customer. Everything that is an A grade is usually filed away neatly in my inventory waiting for someone to buy. I decided to change that, maybe for the first time ever in my art career.
I’d previously used these silver bubble-looking links in bracelets, and a pair of earrings at the request of a customer. One of my long time patrons fell in love with the links as much as I have and requested a necklace. Now, they’re pretty time consuming to make but how could I say no? I knew it was going to be awesome, and she deserved it. So, I made it, then had to pry it from my fingers when it was time to deliver.
So, this week I decided that a massage was not going to fill the nurturing hole that I was feeling, and I decided to take a couple days to create one for myself, and I thought I’d give you a little peek at what it takes to make this sterling silver necklace.
Cutting out the Bubbles
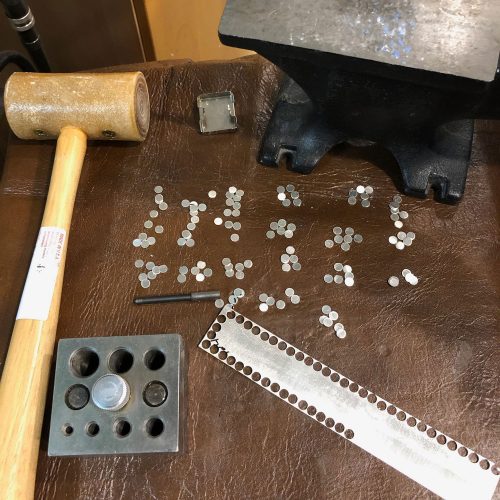
The fist step is getting the bubbles made. Shown below is one size out of 3. I started out thinking I needed 18 links. Who needs the gym when you wield a hammer to punch out 180 silver circles?
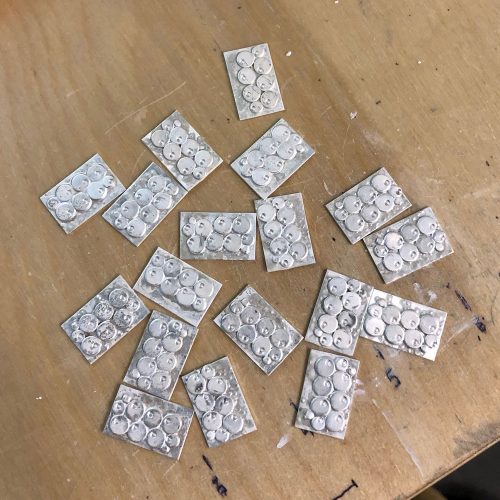
Preparing the Back Plates
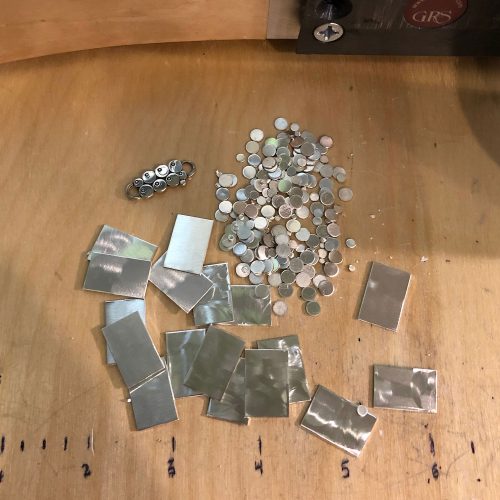
Those little dots don’t just float on their own. The needed a base so I measured, cut, and cleaned up little rectangles of silver sheet.
Soldering the Circles
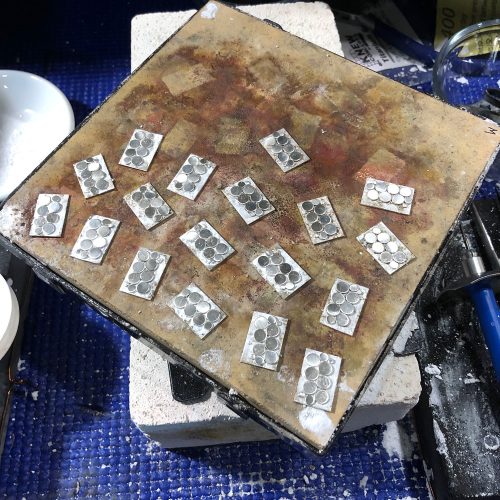
Then I fluxed my silver, placed the dots, and soldered them.
This is where I start to get excited. I hand stamped (more hammering…see my muscles bulging?) tiny little circles on the disks and they start to look like bubbles.
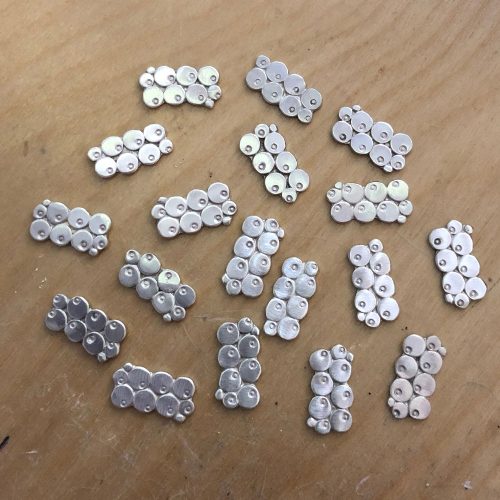
The next step is sawing away the extra silver around the bubbles with a jeweler’s hand saw. Some think that sawing is tedious, especially for little areas like around the curves of the bubbles but I find it relaxing. After I cut them out I file around the edges to get rid of any sharp edges, and then go over them with a grinding wheel to take off any sharp edges.
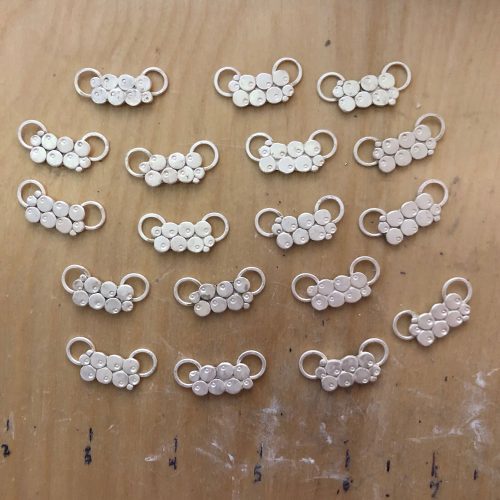
I forgot to take images but the next step was making the round rings our of silver wire and hammering them flat. I don’t know why but hammering them flat feels like I’m giving it a nice little touch rather than using just round wire. Of course, it adds more time to the process because you have to solder them shut before you can hammer but oh well. It’s a special piece and it deserves special touches. After they were hammered I soldered them to the backs of the bubbles, making them into links, and ready to attach with more soldered links.
Then, a lot more skipped steps because linking them all together, putting on a black patina, and polishing it through four polishing grits is kind of boring. But, there you have it. I’m wearing it now and I feel so fancy!

